
Easy Dutch Oven Chipotle Pulled Beef
This post may contain affiliate links. If you click and purchase, we may earn a small commission. Read our full disclosure.
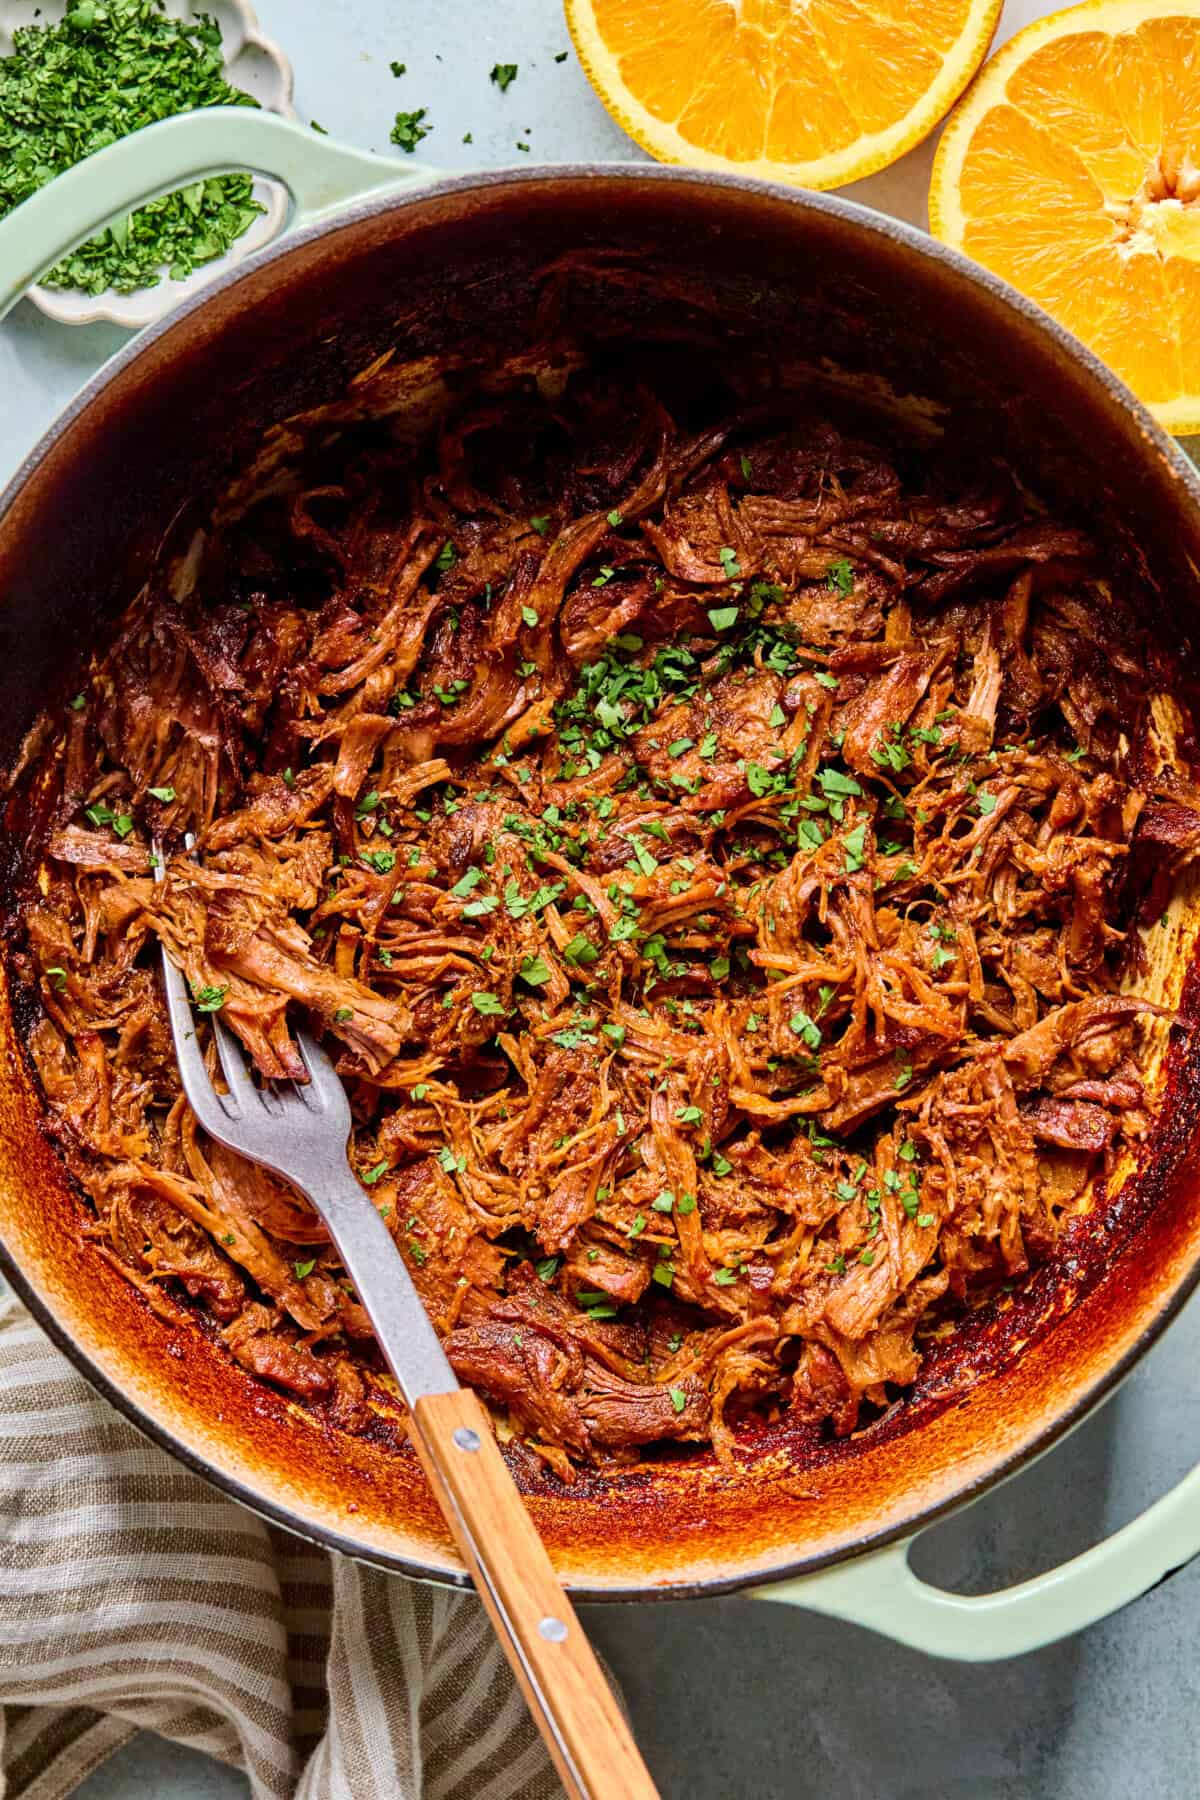
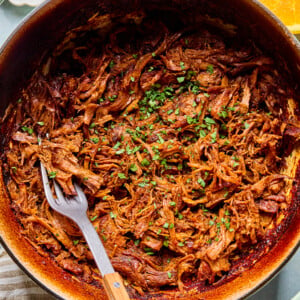
This chipotle pulled beef is the kind of recipe you make on a Sunday and live off of all week. A few hours low and slow in the Dutch oven with chipotles in adobo, orange juice, and garlic turns an ordinary chuck roast into something smoky, slightly spicy, citrusy, and so tender it shreds with two forks.
Pile it into tacos (highly recommend), but it’s just as good over rice bowls, stuffed into a sweet potato, or piled onto a salad. High protein, freezer-friendly, and basically meal prep on autopilot.
Why you’ll love this recipe
- High protein and macro friendly
- Great for meal prep
- Does the work for you
- Many ways to eat
Ingredients and Substitutions:
These are the main ingredients and substitutions for the pulled beef. See the recipe card below for the full ingredient list and instructions.
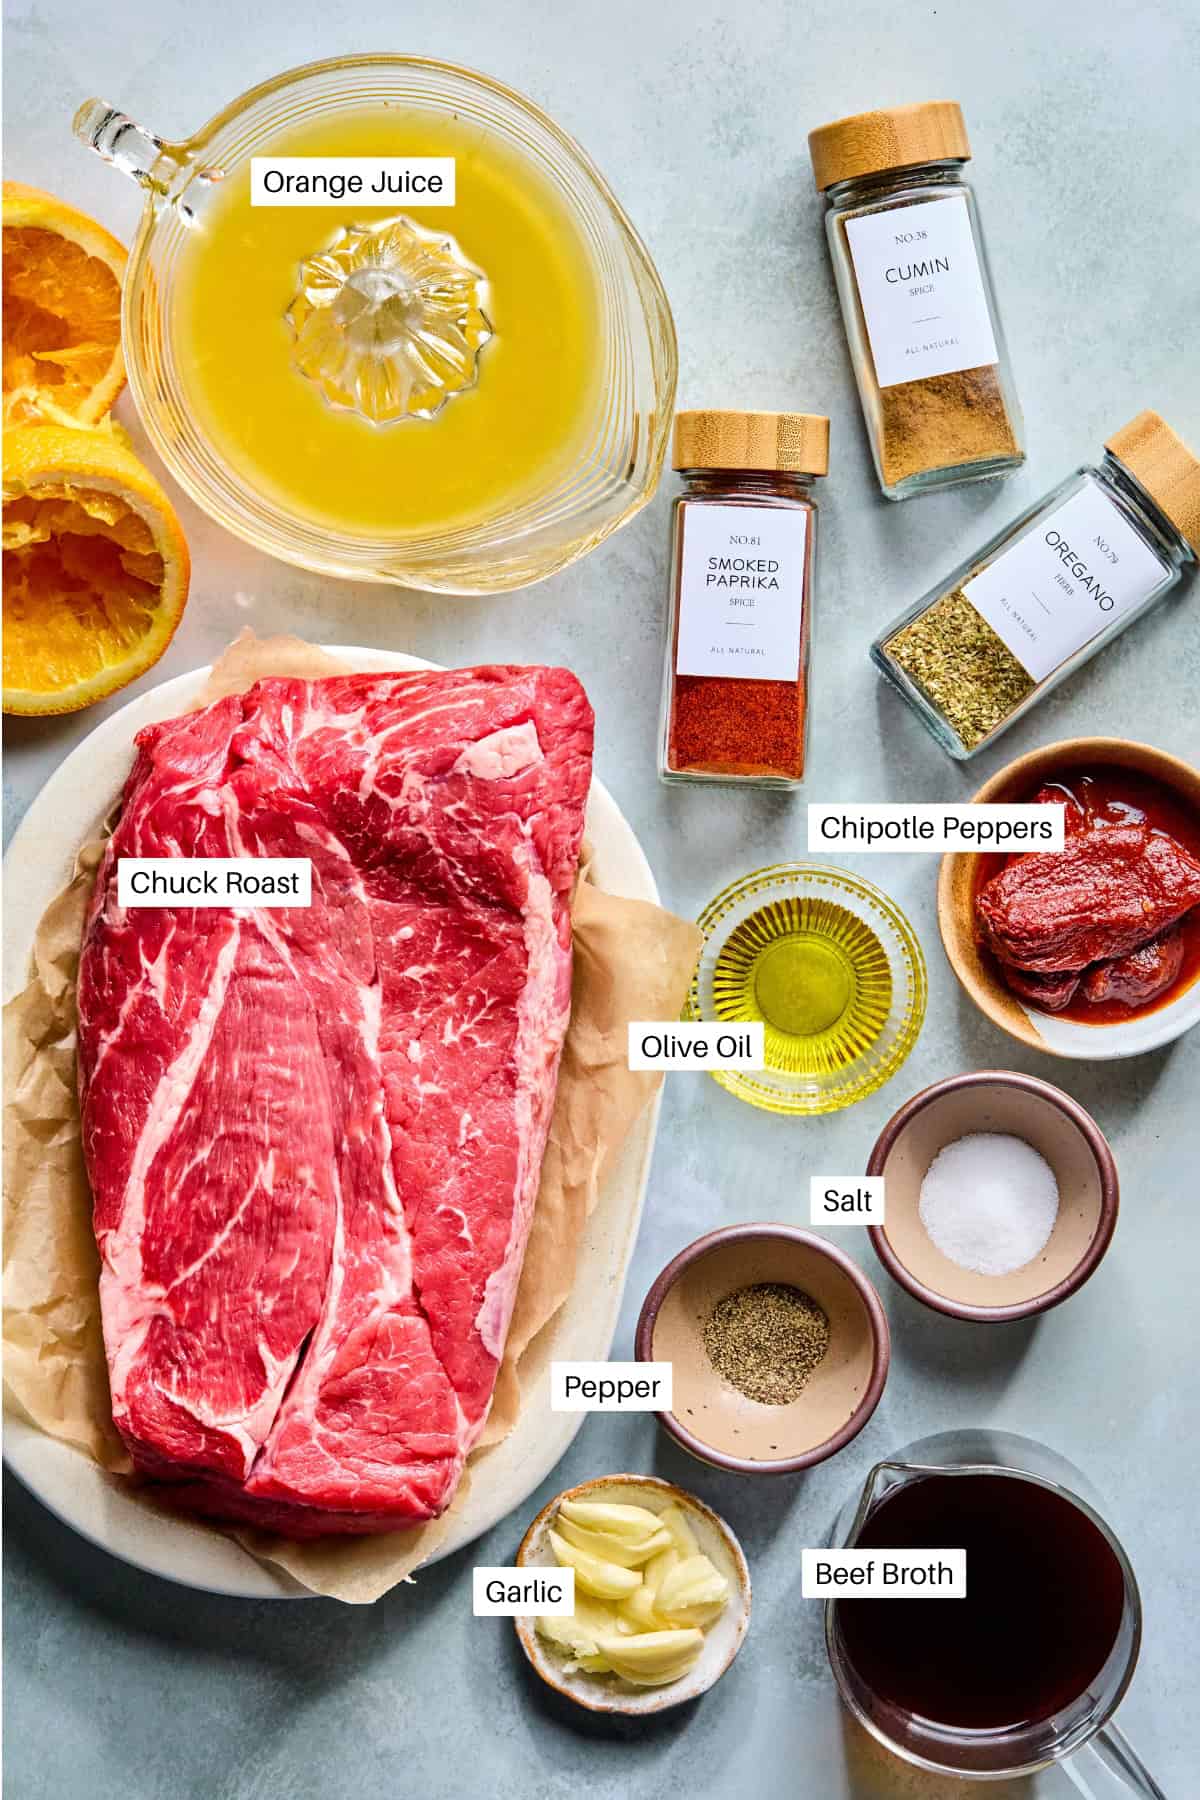
Chuck roast is the only cut worth using here. It has enough fat and connective tissue that after 3.5–4 hours in the oven, it just gives up and falls apart in the best way. Leaner cuts like round roast sound go dry and stringy in a long braise. Trust the chuck.
Chipotles in adobo: don’t drain the sauce off. That’s flavor. The recipe uses 3–4 peppers, which lands at a medium heat level. If you’re cooking for people who don’t love spice, start with 2 and taste the liquid before you pour it over the meat.
Orange juice: the secret ingredient most braised beef recipes skip. It brightens up all that smoky, savory depth and gives the sauce a little sweetness that balances the heat from the chipotles. It also slightly tenderizes the meat as it braises. Don’t skip it and don’t substitute — it’s doing real work here.
Smashed garlic: six cloves, just smashed with the flat of your knife. No need to mince. They go into the blender with everything else and get completely incorporated into the sauce.
Dietary Modifications
- This recipe is gluten-free and dairy-free, as is.
Tips on how to make these pulled beef tacos
- Pat the meat dry before searing — moisture is the enemy of a good crust. A wet surface steams instead of sears.
- Don’t rush the sear — dark crust, not just golden. This is where flavor comes from.
- Check at 3.5 hours — if the beef is still tough, it’s not done. Tough = needs more time, not overcooked. Fall-apart should happen with zero effort.
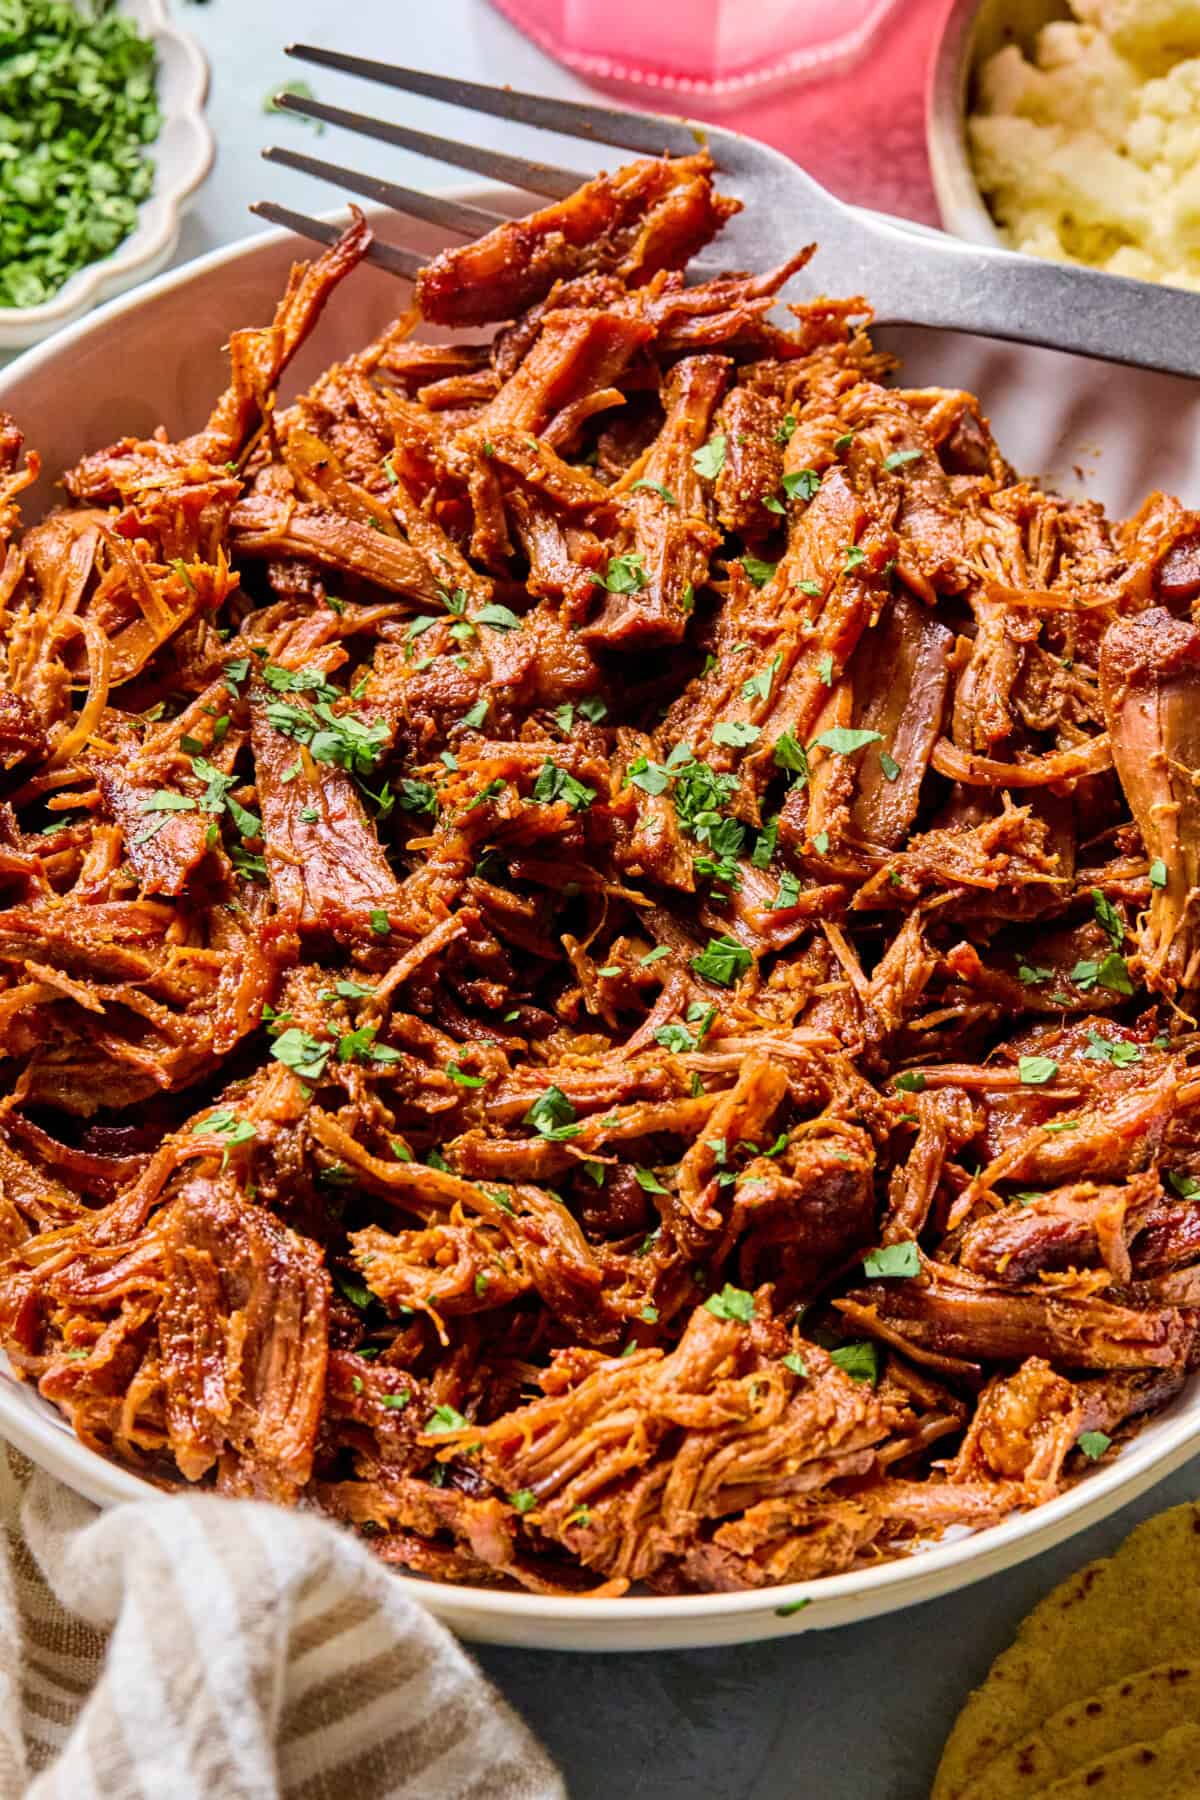
- Shred in the pot — two forks, pull it apart right in the braising liquid. This is the move for juicy beef. Don’t shred it on a cutting board and then scoop it into the sauce.
- Char your tortillas — directly on a gas burner flame or in a dry cast iron skillet over high heat. 30 seconds per side. This is the difference between “fine” and “great” tacos.
Other ways to eat this pulled beef
- Burrito bowls — beef over rice with black beans, corn, avocado, and a drizzle of the braising liquid as a sauce.
- Quesadillas — stuff into a flour or low-carb tortilla with a little cheese, press in a hot skillet until crispy.
- Nachos — pile onto tortilla chips with cheese, pop under the broiler for a few minutes, top with pickled onions and cilantro.
- Loaded baked potatoes or sweet potatoes — sounds random, tastes incredible.
- Eggs — beef warmed up with a couple of fried or scrambled eggs on top.
- Salad — cold beef straight from the fridge over greens with avocado and lime.
Recipe FAQs
Chuck roast is the move. It has enough fat and connective tissue that it breaks down into tender, shreddable beef after a long braise. Leaner cuts like round roast will get dry and stringy — not what you want here.
Yes. Sear the chuck roast on the stovetop first, then transfer everything to your slow cooker. Cook on low for 8–10 hours or high for 5–6 hours. Shred the beef directly in the liquid to keep it juicy.
Medium heat — smoky with a slow burn, not face-meltingly hot. The orange juice in the braising liquid helps balance the heat with a bit of sweetness. If you’re sensitive to spice, start with 2 peppers instead of 3–4 and taste from there.
Store the shredded beef in an airtight container with some of the braising liquid for up to 4 days in the fridge, or freeze for up to 3 months. Reheat on the stovetop over medium-low with a splash of broth, or microwave covered. The liquid is key — don’t skip it or the beef dries out fast.
Absolutely. This beef is great in burrito bowls, on nachos, stuffed into quesadillas, piled onto rice — basically anything you’d put barbacoa in. The chipotle-citrus flavor is versatile enough to take it in a lot of directions.
Check out our other easy recipes!
If you make this recipe, please leave a rating and/or comment! Tag me on Instagram @ohsnapmacros, I love hearing from you!
Pulled Beef
📱 MyFitnessPal & MacrosFirst App Users
You can find this recipe and many others on MyFitnessPal and MacrosFirst by searching: Ohsnapmacros – Pulled Beef
Equipment
- 1 Dutch Oven
Ingredients
- 3 lbs. chuck roast
- salt and pepper, heavy handed
- 1 Tbsp. olive oil
Braise liquid
- 3-4 chipotle peppers in adobo + 2 tbsp. adobo sauce
- 1 cup beef broth
- 1/2 cup orange juice
- 6 cloves garlic smashed
- 2 tsp. cumin
- 1 tsp. smoked paprika
- 1/2 tsp. oregano
Instructions
- Preheat the oven to 325 degrees Fahrenheit.
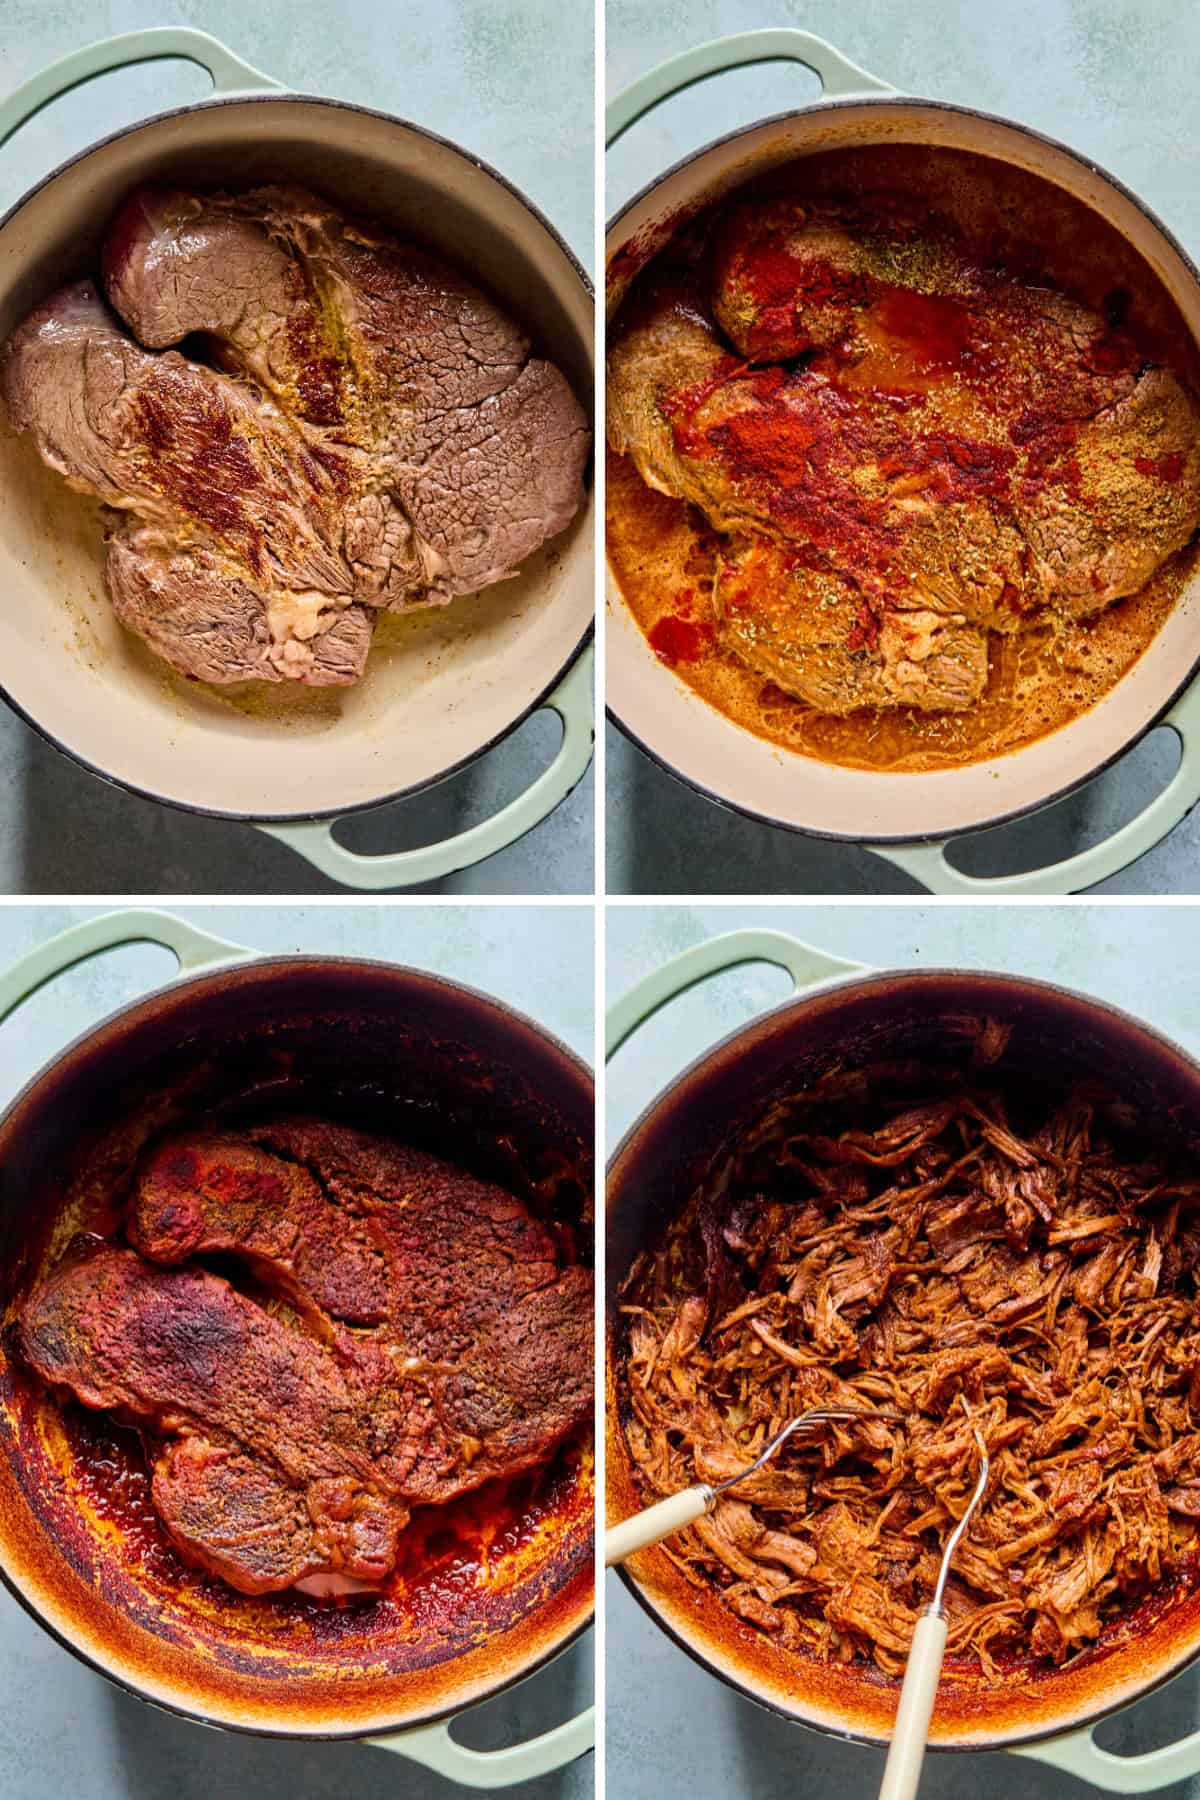
- Pat the meat dry with a paper towel. Season heavily on all sides with salt and pepper. Heat the oil in a dutch oven and sear the meat on all sides until a dark crust forms.
- While the meat sears add the chipotle pepper, adobo sauce, beef broth, orange juice and garlic to a small blender and blend to combine. Pour over the seared meat and sprinkle with the cumin, smoked paprika and oregano.
- Cover, place preheated oven and cook for 3.5-4 hours. Check at 3 ½ hours, the meat should fall apart without effort. If it is still tough place it back in the oven for another 30 minutes until it falls apart. Using two forks pull the meat apart while in the liquid, this helps keep it moist allowing the meat to soak up the liquid.
- Serve and enjoy.
Notes
- Nutritional information is an estimate and will vary with substitutions. This nutritional information is written to be per one ounce so you can take as many ounces as you prefer.


This took so little effort to make and has paid dividends for meal prep. My husband and I agree it got better the next day. The possibilities are truly endless. My favorite carb pairings have been corn tortillas, jasmine rice and baked sweet potatoes but it’s delicious on its own as well. I’ll be making this on repeat!
So good!