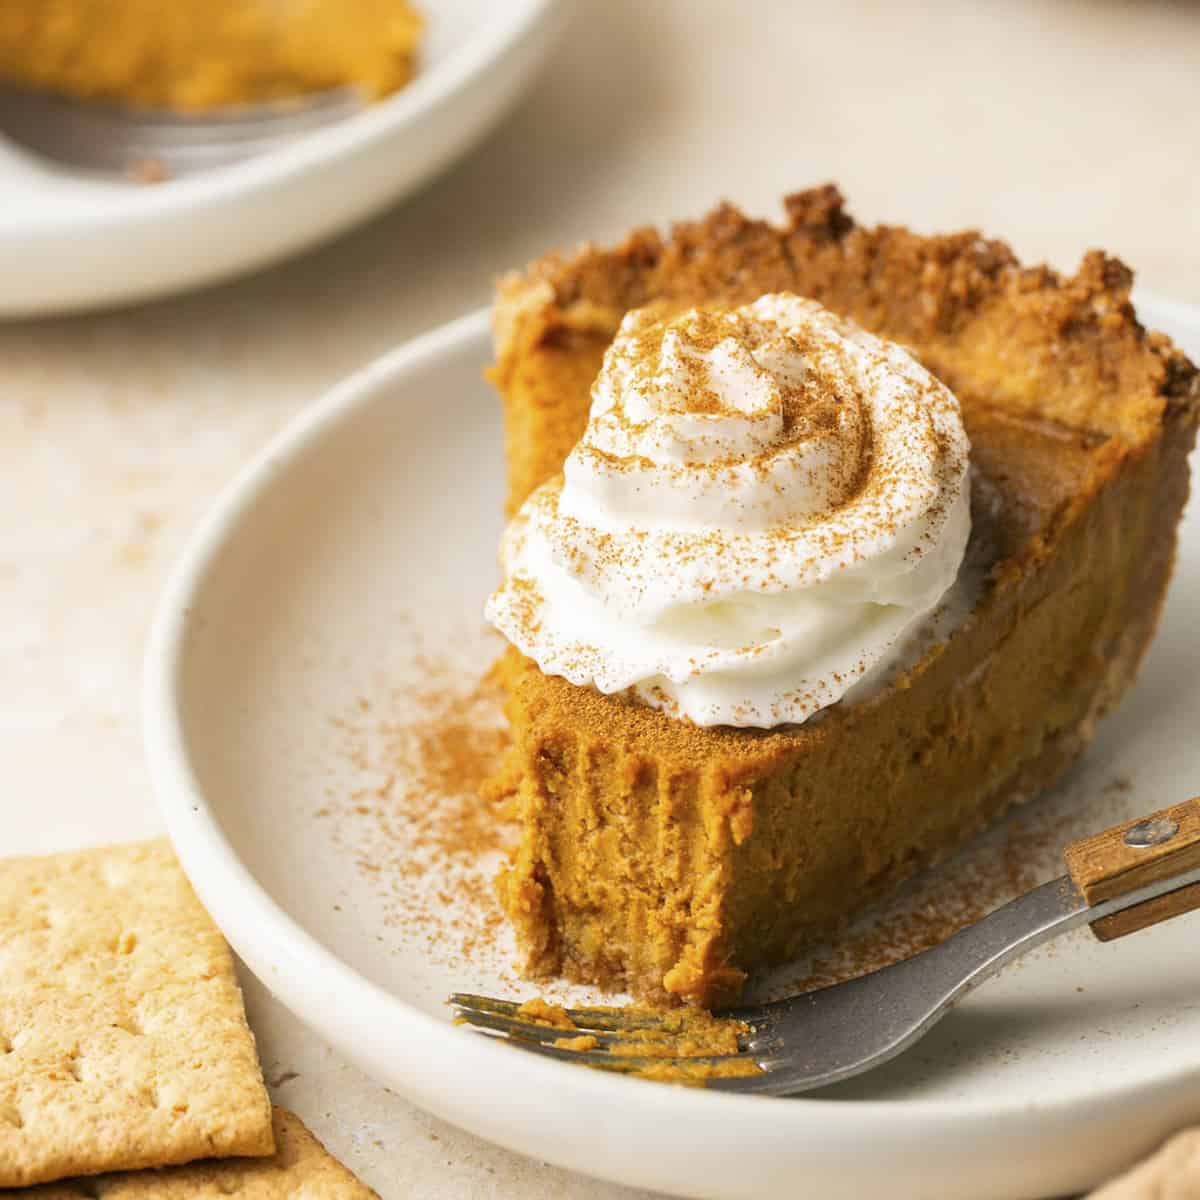
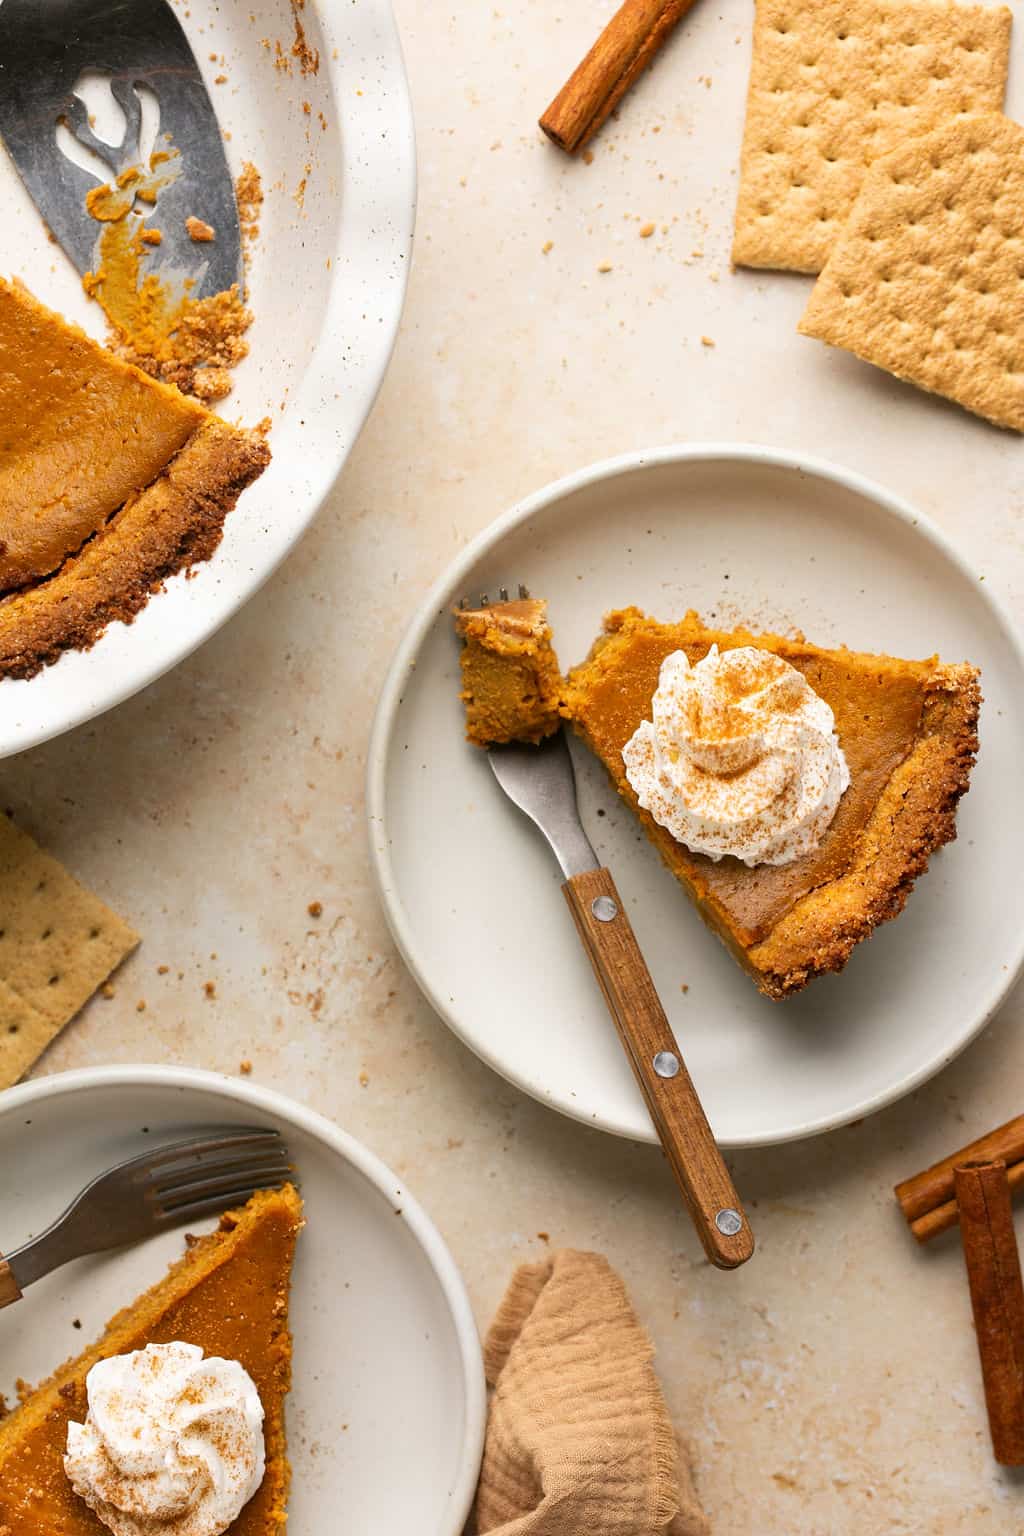
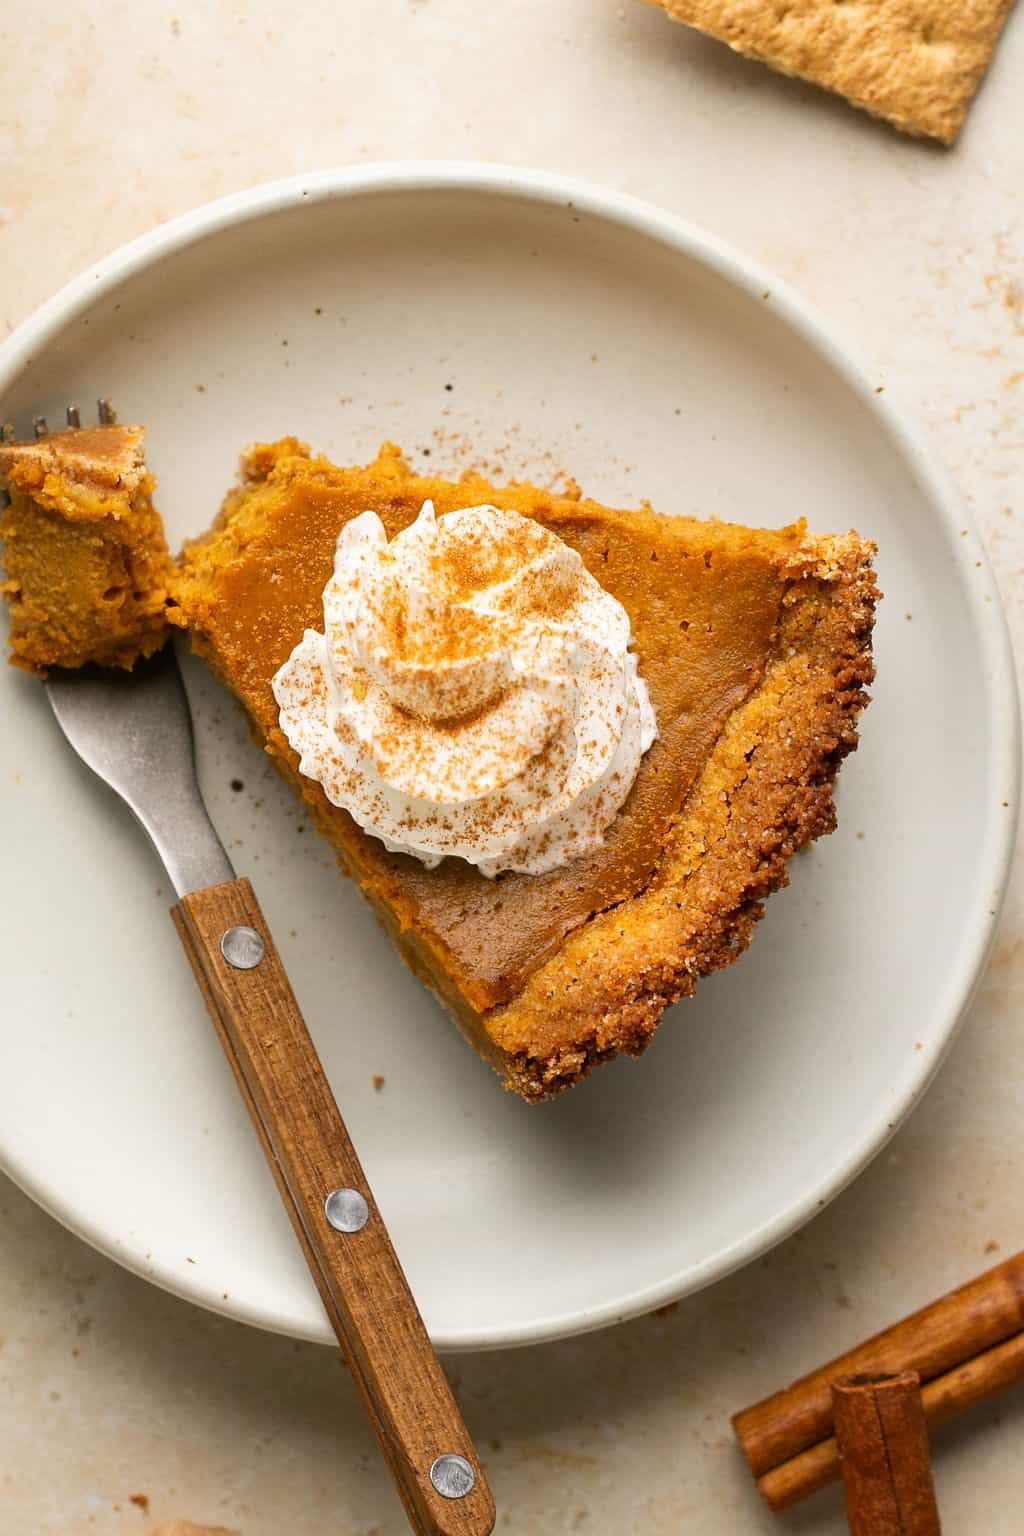
Creamy Pumpkin Pie with Graham Cracker Crust
Not sure what your macros should be? We can help you get started with a custom macro count.

Holiday desserts are calling my name! Mini eggnog cheesecakes, no-bake Biscoff cookie truffles, and peppermint white chocolate granola are staples around here. However, it was about time I brought in a beloved classic.
This crunchy twist on the classic pumpkin pie is made with simple ingredients and results in a creamy dreamy dessert. With a straightforward and easy recipe, this is the perfect dessert to pair with your Green Bean Casserole with Air Fried Crispy Onions and Sweet Potato Casserole.
Why you’ll love this recipe ..
- This easy pumpkin pie recipe is made with a sweet and crunchy graham cracker pie crust.
- Warm spices are baked into a creamy pumpkin filling for a decadently delicious pie.
- Rich and indulgent from heavy whipping cream while still feeling light and soft.
Pumpkin Pie with a Graham Cracker Crust
Pumpkin desserts are abundant this time of year. We’ve done pumpkin mini donuts, pumpkin pie pudding and even pumpkin pie popsicles. But I will missing the most famous: the pumpkin pie.
This one is the BEST. How do I know? My husband. The man is a pumpkin pie connoisseur. He eats more than his fair share at Thanksgiving and when everyone else is packing up leftovers, the only thing on his mind is how much pie he can take home.
Naturally, his years of pumpkin pie tasting made him my go-to taste tester. He was the brain behind pumpkin pie bliss balls and mini pumpkin pie cheesecakes. Took a few tries, but when I walked downstairs to an empty pie plate, I knew my work was complete. And yes, he ate the whole pie. And no, I did not judge. It is JUST THAT GOOD.

Save this recipe!
Taste and Texture of Pie with Graham Cracker Crust
So, what is so good about this recipe that compelled my husband to eat an entire pie dish? A perfect blend of pumpkin pie spice, a creamy and smooth pumpkin pie filling, and a homemade crunchy pie crust. The filling is made with heavy cream, making it decadent and delicious while still being soft and light. The crust is crunchy and sweet and the graham crackers go so beautifully with the blend of spices. Add a little dollop of whipped cream and your new favorite Thanksgiving dessert is served.
How to make your pie gluten and dairy-free
To make your pumpkin pie gluten-free, use a gluten-free graham cracker. Pamela’s makes a good one. To make it dairy-free, you have to swap out the heavy cream, which is really the crucial element to the creamy pumpkin pie filling. I have not tried making this dairy-free.
What you’ll need to make this Pumpkin Pie:
These are the main ingredients and substitutions. See the recipe card below for the full ingredients list and instructions for Pumpkin Pie with Graham Cracker Crust.

How to make pumpkin pie with graham cracker crust (a step-by-step visual guide):
Step 1: Preheat oven and prep graham crackers
Preheat your oven to 375 degrees Fahrenheit. In a food processor, pulse the graham crackers into fine crumbs (image 1). You can also put graham crackers in a large ziplock bag and use a rolling pin to smash them into graham cracker crumbs.

Step 1: Make and bake crust

In a medium bowl, combine the crushed graham crackers, sugar, melted coconut oil, and salt. Stir until the mixture is well combined and has a consistency similar to wet sand (image 2).

Press the mixture firmly into the bottom and up the sides of a 9-inch pie pan (image 3). Bake in the preheated oven for 7-8 minutes until slightly golden. Remove from the oven and set aside.
Step 1: Make filling and add to baked crust

In a large bowl, whisk together the pumpkin puree, sugar, cinnamon, ginger, cloves, nutmeg, and salt until well combined (image 4).

Beat in the eggs one at a time, followed by the heavy cream, mixing until the filling is smooth (image 5).

Pour the pumpkin mixture over the crust and smooth the top with a rubber spatula, if needed (image 6).
Step 1: bake the pumpkin pie
Bake in the preheated oven for about 55-65 minutes, or until the center is slightly jiggly and set. At the 30-minute mark, cover the edges of the pie with aluminum foil or a pie crust shield so the edges do not burn. You can cover just the edges of the pie with foil or use a pie shield to avoid burning the tips of the pie crust. You can also check the internal temperature is 180 degrees Fahrenheit to confirm it is done prior to removing it from the oven.
Step 1: Remove from oven and let set
Remove the pie from the oven and allow it to cool on a wire rack to room temperature for at least 3-4 hours to set. Cover with foil and transfer to the refrigerator to set overnight for best results.

Tips for how to tell when your pie is done:
- Check for a wiggle, not a jiggle! The outer edges of the pie should be firm while the center will be slightly jiggly, but not sloshy or unsteady. If the entire pie is wobbly, continue baking!
- Check the internal temperature is 180 degrees Fahrenheit to ensure the eggs are properly cooked.
- Start checking for doneness at 50 minutes. The time will vary oven to oven, pan to pan.
- Let the pie cool completely! Do not skip letting the pie cool prior to refrigerating for 3-4 hours. This allows the pie to set. Do not skip refrigerating your pie either and it is best to do so overnight. Both are crucial to how your pie will turn out.
- Cracks can happen .. it means your pie got a little overbaked. Follow these suggestions and it’ll help you avoid cracking nothing but jokes on Thanksgiving.

Check out some of these other desserts:
- Chewy and Crispy Double Peanut Butter Cookies
- Easy Chocolate Crinkle Cool Whip Cookies Recipe
- No-Bake Biscoff Cookie Truffles (with added protein)
- Homemade Choco Taco Recipe
If you make this recipe, please leave a rating and/or comment! Tag me on Instagram @ohsnapmacros, I love hearing from you!

Pumpkin Pie with Graham Cracker Crust
📱 MyFitnessPal & MacrosFirst App Users
You can find this recipe and many others on MyFitnessPal and MacrosFirst by searching: Ohsnapmacros – Pumpkin Pie with Graham Cracker Crust
Ingredients
Graham Cracker Crust
- 1 1/2 cups finely crushed graham crackers about 12 whole sheets
- 1/4 cup granulated sugar
- 6 Tbsp. coconut oil melted, 90g
- 1/4 tsp. salt
Pumpkin Pie Filling
- 1 can pumpkin puree 15 oz
- 3/4 cup granulated sugar
- 1 tsp. ground cinnamon
- 1/2 tsp. ground ginger
- 1/4 tsp. ground cloves
- 1/4 tsp. ground nutmeg
- 1/2 tsp. salt
- 2 large eggs
- 1 cup heavy cream 245g
Instructions
- Preheat your oven to 375 degrees Fahrenheight.
- In a food processor, pulse the graham crackers into fine crumbs.
- In a medium bowl, combine the crushed graham crackers, sugar, melted coconut oil, and salt. Stir until the mixture is well combined and has a consistency similar to wet sand. Press the mixture firmly into the bottom and up the sides of a 9-inch pie pan.
- Bake in the preheated oven for 7-8 minutes until slightly golden. Remove from the oven and set aside.
- In a large bowl, whisk together the pumpkin puree, sugar, cinnamon, ginger, cloves, nutmeg, and salt until well combined. Beat in the eggs one at a time, followed by the heavy cream, mixing until the filling is smooth.
- Pour the pumpkin mixture over the crust and smooth the top with a rubber spatula, if needed. Bake in the preheated oven for about 55-65 minutes, or until the center is slightly jiggly and set. You can also check the internal temperature is 185 degrees Fahrenheight to confirm it is done prior to removing from the oven.
- At the 30 minute mark, cover the edges of the pie with aluminum foil or a pie crust shield so the edges do not burn. You can cover just the edges of the pie with foil or use a pie shield to avoid burning the tips of the pie crust. To make a pie guard, cut a ring out of parchment paper and lay it over the edge to cover the crust and leave the center of the pie open.
- Remove the pie from the oven and allow it to cool on a wire rack for at least 3-4 hours to set.
- Cover with foil and transfer to the refrigerator to set overnight for best results.
- Slice and serve with a dollop of whipped cream on top of the pie, if desired.
Notes
- All nutrition facts are an estimate and will vary with substitutions.
- You must let the pie cool on the wire rack for 3-4 hours BEFORE refrigerating. It is best to let this pumpkin pie cool in the refrigerator overnight! This is crucial for the filling to set properly.

Love the graham cracker crust, seriously the best pumpkin pie ever!
Thank you so much!!!! I’m so glad you loved it! It’s our favorite too.
Delicious! I made this for a Thanksgiving dessert, and it got rave reviews from everyone! And side note – I accidentally bought 2% milk instead of heavy whipping cream (oops) and didn’t realize my mistake until after the pie was already in the oven. Good news is it still came out perfect! So easy and good!!
Great to know there were no issues with that swap!! I’m so glad you loved it.
Perfect in every way!
Thank you!!